Toyota 22R Head Bolt Torque Specs and Sequence
Toyota 22R Head Bolt Torque Specs and Sequence with application boundaries, staged installation guidance.
For the covered 1990 Toyota Pickup 22R, tighten the cylinder-head bolts gradually in the factory sequence through three complete passes, finishing at 58 lb-ft (78 N·m).
For the covered 1990 Toyota Pickup 22R, tighten the cylinder-head bolts gradually in the factory sequence through three complete passes, finishing at 58 lb-ft (78 N·m).
The numerical procedure is anchored to the 1990 2WD Pickup 22R factory service data. Other years, 22R-E revisions, replacement gaskets, aftermarket heads and stud kits must be matched to their own instructions.
The factory procedure installs the rocker-arm assembly over its dowels before tightening. Prepare the block/head joint and timing-cover interface exactly as the full model-year manual directs, then complete each pass across the entire pattern before increasing torque.
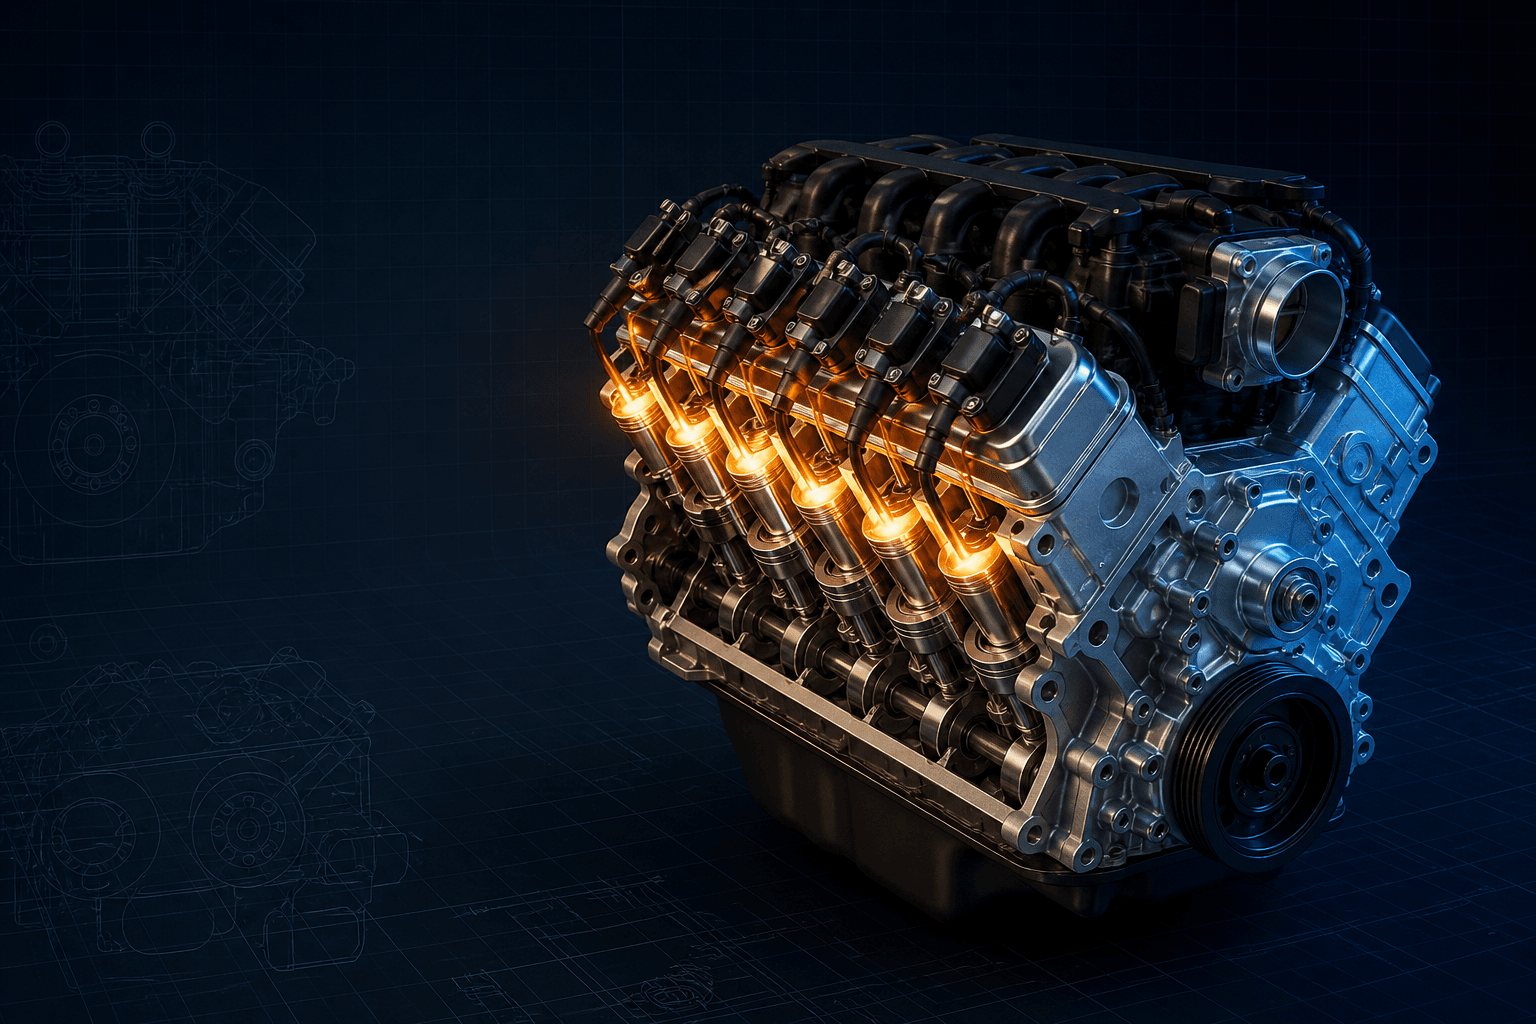
Interactive 1990 Toyota Pickup 22R I4 head service map
Branded downloads includedPNG and PDF exports carry the TorqueSheet logo, torquesheet.com, source-page URL, and republishing attribution request. The PDF source link is clickable.
Use the numbered map as an orientation aid only. The application-specific service diagram controls the actual bolt positions and stages.
Toyota 22r Head Bolt Torque Spec
| APPLICATION / ITEM | SPECIFICATION | NOTES |
|---|---|---|
| Number of passes | 3 progressive passes | Follow the exact Toyota sequence |
| Final pass | 58 lb-ft | 78 N·m; 800 kgf·cm |
| Thread and gasket preparation | Model-year procedure | Do not improvise lubricant or sealer |
| Aftermarket studs or head | Component-maker chart | Factory bolt torque does not transfer |
The factory procedure installs the rocker-arm assembly over its dowels before tightening. Prepare the block/head joint and timing-cover interface exactly as the full model-year manual directs, then complete each pass across the entire pattern before increasing torque.
How to use this specification correctly
- 01
Identify the engine code, model year, casting, gasket and exact fastener kit before disassembly.
- 02
Clean and inspect threads, bolt holes and mating faces using the component manufacturer's limits.
- 03
Follow the exact staged pattern with the specified lubricant or sealant; record torque and angle completion.
What the 1990 Toyota procedure actually says
The covered Toyota procedure does not use a torque-plus-angle finish. It calls for gradual tightening in three passes through the illustrated order, with the final pass reaching 58 lb-ft (78 N·m). Treat that as an application-specific procedure, not a universal number for every 22R-family build.
The rocker-arm assembly is positioned over its locating dowels before the head bolts are tightened. That detail affects access and stack-up, so the complete assembly sequence matters as much as the final wrench setting.
Preparation before the first pass
Confirm the block, head, gasket and bolt set belong together. Clean the mating surfaces without gouging them, chase contamination from bolt holes by the approved method, and verify that the timing-chain components and cover-to-block joint are assembled as the model-year manual requires.
Start every bolt by hand. A bolt that binds early, reaches torque before the joint seats, or shows damaged threads is a stop signal. Torque cannot compensate for trapped debris, liquid in a blind hole, incorrect bolt length or a displaced head gasket.
How to apply three progressive passes
Use a calibrated wrench and follow Toyota's numbered illustration for every pass. A sensible workflow is to divide the rise toward 58 lb-ft into two lower, even seating passes and the published final pass without exceeding the final value. The exact sequence—not an invented row-by-row sweep—controls.
After assembly, rotate the engine by hand through its normal direction and complete valve adjustment, timing and cooling-system work using the exact vehicle procedure. Apply any post-heat-cycle recheck only when the gasket or service instructions explicitly require it.
Why 1990 Toyota Pickup 22R I4 identification changes the specification
The numerical procedure is anchored to the 1990 2WD Pickup 22R factory service data. Other years, 22R-E revisions, replacement gaskets, aftermarket heads and stud kits must be matched to their own instructions.
The factory procedure installs the rocker-arm assembly over its dowels before tightening. Prepare the block/head joint and timing-cover interface exactly as the full model-year manual directs, then complete each pass across the entire pattern before increasing torque.
Assembly controls that prevent false torque
- Use the specified thread condition and lubricant.
- Separate main bolts from small or special-position fasteners.
- Use an angle gauge where torque-to-yield stages are specified.
- Stop if a fastener reaches the setting before the joint seats normally.
Toyota 1990 Toyota Pickup 22R I4 specifications can change by model year, engine, platform, wheel, and installed component. Confirm the VIN or engine identity, part numbers, fastener condition, and the current manufacturer instructions before service.
Toyota 22R Head Bolt Torque Specs and Sequence FAQs
What is the 1990 Toyota 22R head-bolt torque?+
The covered factory procedure uses three gradual sequence passes and a final torque of 58 lb-ft (78 N·m).
Does the 1990 22R procedure use an angle turn?+
No angle stage appears in the cited procedure; it finishes at a measured 58 lb-ft after three progressive passes.
Can I apply 58 lb-ft to aftermarket studs?+
Not automatically. Use the stud maker's torque, lubricant and sequence for that exact kit.
Should the head be retorqued after running?+
Only when the exact gasket or model-year service instructions require it; do not invent a recheck by loosening completed bolts.
Technical sources
TorqueSheet favors engine- and component-specific manufacturer instructions over unsourced universal values.
1Toyota owner's manualsOfficial Toyota model-year manual lookup.↗