Honda H22A Timing Belt Alignment: Cam, Crank and Balance Shafts
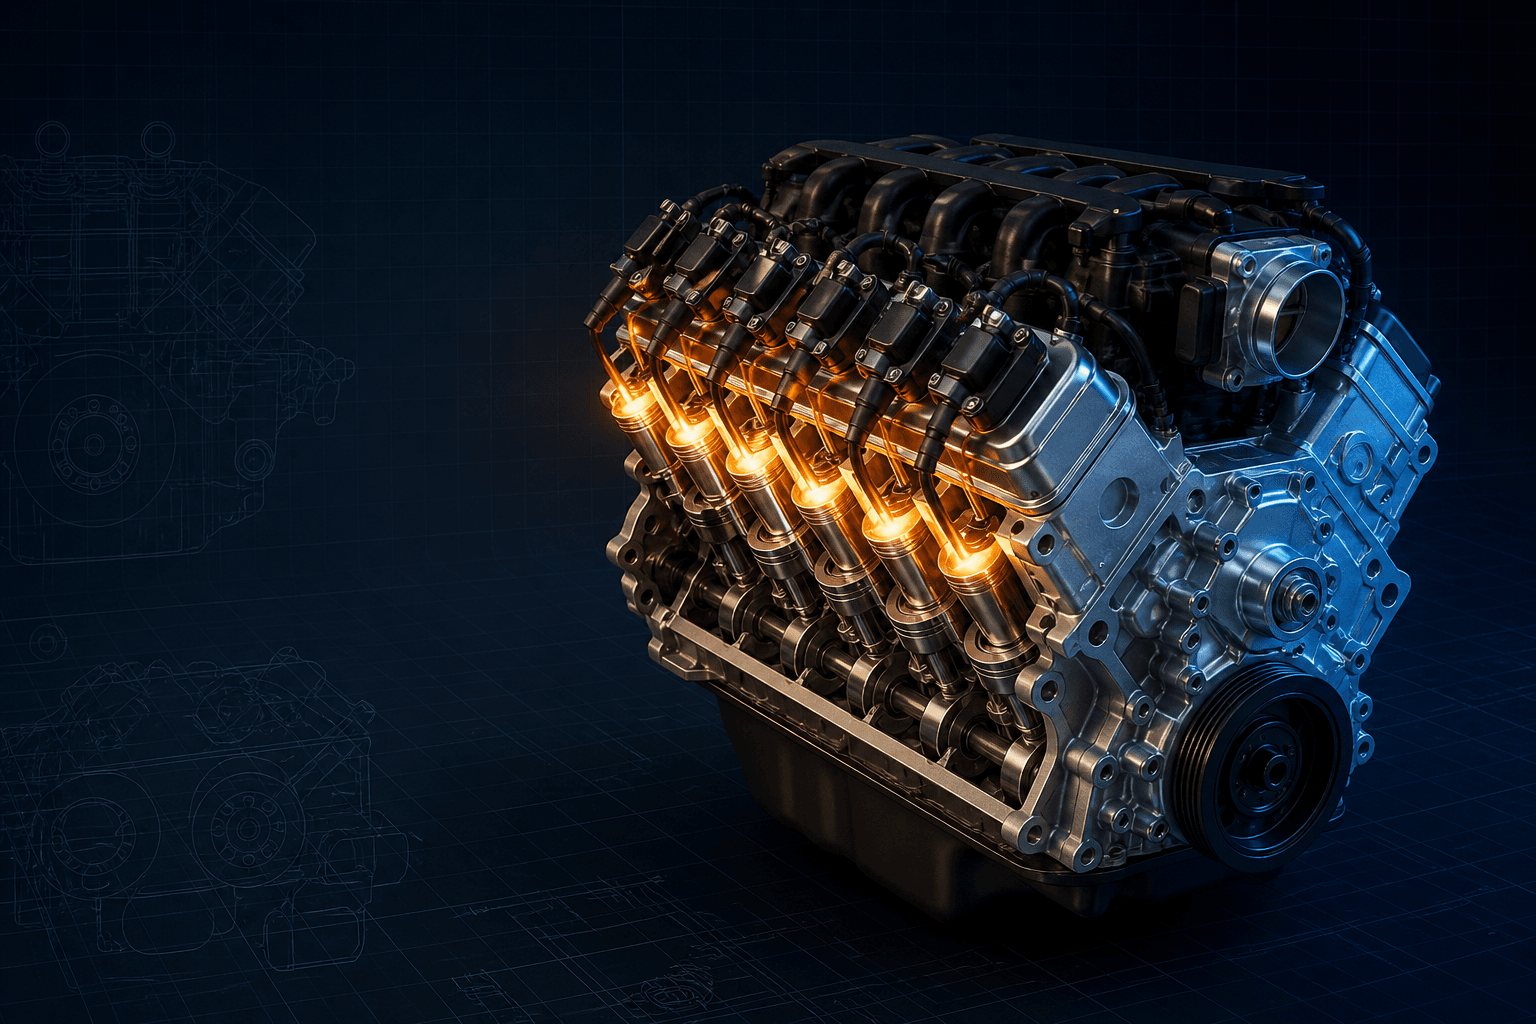
Honda H22A timing-belt guide showing crank TDC, twin-cam marks, separate balancer belt, front and rear balance-shaft indexing.
At No. 1 TDC/compression on a Honda H22A, set the crankshaft at its factory TDC reference and position both cam pulleys with UP marks at the top and their horizontal index lines level with the cylinder-head surface. Install and tension the camshaft belt first by the exact H22 procedure. Then time the separate balancer belt: align the front balance-shaft pulley mark to its oil-pump pointer and lock/verify the rear balance shaft through the block service hole with the specified pin/bolt before aligning its pulley and installing the balancer belt.
An H22A front-drive view contains four timed shafts: crankshaft, two camshafts and the balance-shaft system. The main toothed belt controls valves. A second, narrower belt drives the balance shafts. A diagram that shows only the two cam gears and crank is incomplete for a full belt service.
The balance shafts are especially deceptive. Their pulleys can appear to line up while the rear shaft is indexed incorrectly internally. Honda provides a service hole in the block so the rear shaft can be locked or verified with a specified pin/bolt at the correct depth. Guessing from pulley spokes can leave the engine with pronounced vibration despite normal compression.
The H22 family spans multiple markets and tensioner designs. This broad page remains indexable but visibly limited until separate H22A1 and H22A4 manual illustrations are attached, but it provides a crawlable workflow that prevents the systems from being mixed.
Interactive H22A dual-belt timing map
Branded downloads includedPNG and PDF exports carry the TorqueSheet logo, torquesheet.com, source-page URL, and republishing attribution request. The PDF source link is clickable.
Functional pulley-end view separating valve timing from balance-shaft timing. Select the exact H22A1/H22A4 tensioner procedure before installation.
Honda H22a Timing Belt Alignment Diagram
| APPLICATION / ITEM | SPECIFICATION | NOTES |
|---|---|---|
| Crank | No. 1 TDC at factory flywheel/pulley and lower reference | Confirm compression stroke |
| Cam pulleys | UP marks up; side lines level with head | Both intake and exhaust cams |
| Front balance shaft | Pulley mark to oil-pump pointer | Balancer-belt reference |
| Rear balance shaft | Lock/verify through block service hole | Use specified pin/bolt depth and procedure |
| Belts | Cam belt first, balancer belt second | Tension each by its application procedure |
The cam belt and balancer belt are different systems. Correct cam timing does not prove correct balance-shaft timing. H22A1 and later H22A4 applications also use different tensioner details, so automatic/hydraulic and manual-conversion procedures must not be combined. The engine is interference; never use the starter until controlled hand rotation and all fixed-mark checks pass.
How to use this specification correctly
- 01
Identify H22A suffix, Prelude chassis/year, Type-SH equipment and current tensioner design. Obtain the matching Honda service manual and conversion-kit instructions if non-stock.
- 02
Disconnect the battery, support the engine, remove mounts/accessories/covers and turn the crank counterclockwise to No. 1 TDC/compression by the chassis procedure.
- 03
Confirm the crank TDC reference. Position intake and exhaust cam pulleys with UP at the top and both horizontal timing lines level with the head surface.
- 04
Inspect cam belt, pulleys, tensioner, water pump and seals. Replace contaminated or damaged components and correct leaks before installing either belt.
- 05
Route the camshaft belt in Honda's specified order, maintaining tension on non-tensioner spans so neither spring-loaded cam moves a tooth.
- 06
Set cam-belt tension using the exact H22A1/H22A4 automatic or manual procedure. Do not mix hydraulic-tensioner preload steps with an aftermarket manual tensioner.
- 07
Align the front balance-shaft pulley mark with the pointer cast into the oil-pump/front housing.
- 08
Remove the rear balance-shaft service-hole sealing bolt and insert the specified locking/verification tool. If it will not seat to the documented depth, rotate the rear shaft to the correct index rather than forcing the tool.
- 09
Install the balancer belt with both balance references retained, set its tension and reinstall the service-hole plug with its required sealing/torque procedure.
- 10
Rotate the crank counterclockwise by hand through at least two complete revolutions, return to No. 1 TDC and recheck crank, both cams and both balance-shaft references before startup.
Camshaft and crankshaft TDC marks
At No. 1 compression TDC, both cam UP marks face upward and the side timing lines align with the cylinder-head top plane. The crank must simultaneously sit at the factory TDC reference viewed through the applicable pulley/flywheel or lower timing pointer.
View the cam marks squarely. Engine tilt and camera angle can make one horizontal line look high. If a line remains displaced when viewed along the head plane, correct belt tooth engagement before tensioning.
Why the rear balance-shaft lock matters
The rear balance shaft connects through internal gearing, so its external pulley position alone may not prove the counterweight phase. Honda's block service hole provides a direct index check.
Use the specified smooth pin or service bolt dimensions; a random long bolt can contact or damage the shaft. Never force the tool. If it does not enter as described, rotate the shaft to the proper position and verify again.
H22 tensioner variations
H22 applications use tensioner hardware that changed over the engine's production, and many engines have been converted to manual tensioners. Spring, hydraulic/automatic and conversion arrangements have different installation, preload and final-tightening steps.
Identify the actual components rather than ordering by the H22A name alone. A conversion that omits required spacers or uses the wrong belt tension can cause tracking, noise, tooth jump or bearing damage.
Cam belt before balancer belt
Set and verify the valve-timing belt first so crank and cams form a known base. The balancer belt is then installed around the already timed crank and indexed balance shafts.
If the crank moves during balancer-belt work, restore No. 1 TDC and recheck the cam marks before proceeding. Do not assume the larger belt remained aligned because its tensioner was tight.
Final verification checklist
- Exact H22 suffix/chassis and tensioner identified
- Crank at No. 1 compression TDC
- Both cam UP marks upward
- Both cam horizontal lines level with head
- Cam belt clean and tensioned by correct procedure
- Front balance mark aligned to pointer
- Rear balance shaft verified through service hole
- Balancer belt tensioned independently
- Two counterclockwise hand revolutions completed
- All five shaft references rechecked before starter use
Honda H22A / H22A1 / H22A4 DOHC VTEC specifications can change by model year, engine, platform, wheel, and installed component. Confirm the VIN or engine identity, part numbers, fastener condition, and the current manufacturer instructions before service.
Honda H22A Timing Belt Alignment: Cam, Crank and Balance Shafts FAQs
How do H22A cam timing marks line up?+
Both cam UP marks point upward and the horizontal index lines on the cam pulleys align with the cylinder-head top surface at No. 1 TDC.
Does the H22A have two timing belts?+
It has a main camshaft timing belt and a separate timing balancer belt. Both must be aligned and tensioned correctly.
How is the rear H22 balance shaft timed?+
Honda provides a block service hole for a specified pin/bolt to verify or lock the rear shaft at its correct index before balancer-belt installation.
Can correct cam timing still produce severe vibration?+
Yes. A misindexed front or rear balance shaft can cause vibration while valve timing and compression remain correct.
Can I use H22A1 tensioner instructions on an H22A4?+
Not without confirming the installed hardware. Factory and converted tensioner systems use different procedures.
Is the H22A an interference engine?+
Yes. Rotate it by hand and verify all fixed marks before using the starter.
Technical sources
TorqueSheet favors engine- and component-specific manufacturer instructions over unsourced universal values.
1Honda ServiceExpress repair-publication matrixHonda identifies ServiceExpress as its source for model-specific service manuals, specifications and repair information.↗21996 Honda Prelude Owner's Manual maintenance scheduleHonda lists the timing belt, timing balancer belt and water-pump inspection together, confirming the H22-era dual-belt service scope.↗