Chevy 350 Oil Galley Plug Diagram and Block-Prep Checklist
Chevy 350 oil-galley plug location guide covering rear main galleries, front lifter-gallery plugs, distributor-area metering, filter bypasses.
A Gen I Chevy 350 normally seals its main oil drillings with plugs at the rear of the block and at the front behind the timing set, but plug style, depth, quantity and access vary by block casting and machining. Identify the casting, remove the cam bearings when required for cleaning, trace every drilled passage, and follow the exact block or crate-engine instructions before installation.
Oil-galley plugs are easy to overlook during a rebuild because several sit behind covers and rotating parts. Leaving one out can dump pump output internally and produce little or no indicated pressure. Installing one too deeply can block an intersecting feed. Installing a coolant plug where an oil plug belongs creates a different but equally serious failure.
The useful diagram is therefore a tracing plan. Start at the pump and filter pad, follow the main and lifter galleries, and account for every drilled end. Compare the casting number and machining with the exact Chevrolet Performance, GM service, or aftermarket-block drawing before selecting thread form, cup-plug size, sealer or depth.
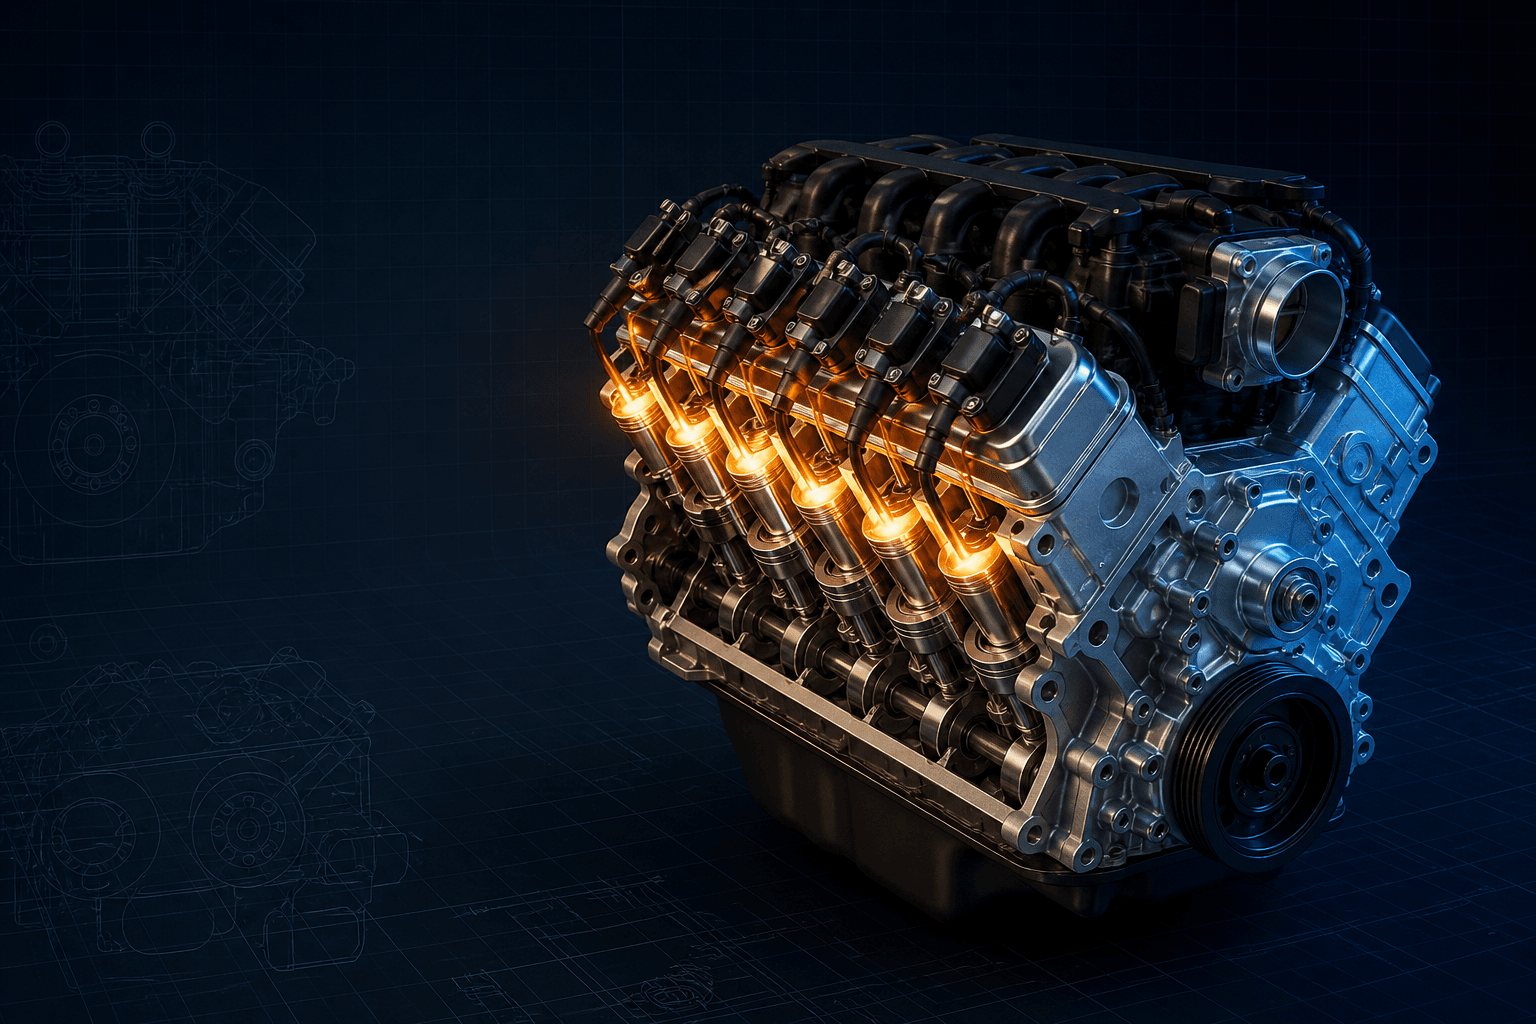
Chevy 350 gallery inspection map
Branded downloads includedPNG and PDF exports carry the TorqueSheet logo, torquesheet.com, source-page URL, and republishing attribution request. The PDF source link is clickable.
The points follow inspection flow rather than giving blind installation depths. Click through and reconcile each opening with the actual casting.
Chevy 350 Oil Galley Plug Diagram
| APPLICATION / ITEM | SPECIFICATION | NOTES |
|---|---|---|
| Rear block area | Main/lifter gallery closures | Usually accessed with flywheel/flexplate and rear cover area exposed |
| Front block area | Gallery closures behind timing set | Depth must not obstruct an intersecting passage |
| Oil-pressure port | Sender/gauge connection | Not a plug to seal permanently when used |
| Filter pad | Adapter and bypass hardware | Configuration depends on block and filter arrangement |
| Installation authority | Exact casting/block instructions | Do not copy another 350's plug kit blindly |
This page distinguishes oil-galley plugs from coolant core plugs, block drains, threaded sender ports and oil-filter adapter/bypass parts. Confusing those features can cause immediate loss of oil pressure or internal leakage.
How to use this specification correctly
- 01
Record the block casting number, casting date, rear-seal style, dipstick side, filter-pad configuration and any aftermarket machining.
- 02
Before final cleaning, remove all accessible gallery plugs and cam bearings as required by the machining/cleaning plan.
- 03
Brush each drilling end-to-end with correctly sized gallery brushes, wash until residue-free, dry immediately and oil machined surfaces.
- 04
Lay out each replacement plug by location; verify thread, diameter, length and whether it must finish below a cover or passage.
- 05
Apply only the specified sealant, install to the documented depth/torque, and confirm no cross-drilling is obstructed.
- 06
Prime the completed engine with the correct distributor-drive priming tool and rotate the crank as directed while verifying oil delivery and leak-free plugs.
Front gallery closures
The front ends of the longitudinal oil drillings are behind the timing-set area on common Gen I blocks. Their installed position must clear the timing components and leave intersecting feeds open. A plug that is flush on one casting may be wrong on another.
Inspect with a light and probe before and after installation. Do not rely on the old plug's appearance if the block was previously rebuilt or modified.
Rear gallery closures
Rear closures seal drilling access at the back of the block. They can be hidden after the engine, flexplate/flywheel or rear components are installed, so they belong on the pre-installation sign-off sheet.
Also identify the oil-pressure sender/gauge port and distributor-area oil passages. These are functional openings, not simply unused holes to plug.
Filter pad, adapter and bypass
The filter mounting area routes pump output into the engine. Adapter hardware, bypass valves and remote-filter fittings vary. A missing bypass piece, wrong adapter, reversed remote lines or gasket covering a port can imitate a gallery-plug failure.
Trace the actual inlet and outlet before assembly. If a remote filter or cooler is used, confirm flow direction, hose rating, bypass strategy and priming volume.
Common block-prep failures
- One hidden plug left out after hot-tank cleaning.
- Threaded plug driven deep enough to obstruct a cross-passage.
- Sealant squeezed into the gallery.
- Oil and coolant plugs mixed during kit sorting.
- Abrasive machining debris left behind a cam bearing or dead end.
- Oil-filter bypass or adapter installed for a different block configuration.
Chevrolet Gen I Small-Block 350 specifications can change by model year, engine, platform, wheel, and installed component. Confirm the VIN or engine identity, part numbers, fastener condition, and the current manufacturer instructions before service.
Chevy 350 Oil Galley Plug Diagram and Block-Prep Checklist FAQs
How many oil-galley plugs does a Chevy 350 have?+
There is no safe universal count without defining the casting and which plugs are included. Count and identify every drilled gallery end on the actual block.
Are oil-galley plugs the same as freeze plugs?+
No. Core/freeze plugs close casting openings in the coolant jacket; oil-galley plugs close machined lubrication passages.
Can a missing rear galley plug cause no oil pressure?+
Yes. An open main or lifter-gallery drilling can create a large internal leak and prevent normal pressure.
Should gallery plugs be installed flush?+
Not as a universal rule. Installed depth depends on plug type and intersecting passages. Use the exact block instructions.
How do I verify the plugs before first start?+
Perform a controlled pre-oil with the correct priming tool, monitor pressure, rotate as directed to verify valvetrain delivery, and inspect every accessible closure and filter connection.
Technical sources
TorqueSheet favors engine- and component-specific manufacturer instructions over unsourced universal values.
1Chevrolet Performance 350 HO base-engine guideChevrolet's installation guide identifies the current Gen I 350 HO configuration and directs builders to application-specific service information.↗2Chevrolet Performance 350 small-block specificationsChevrolet distinguishes multiple Gen I 350 crate-engine and block configurations, reinforcing the need to identify the exact casting before selecting plugs.↗